Custom Objects in the Shoegnome Open Template
In this video I explore all the custom Objects in the Shoegnome Open Template for Archicad.
In this video I explore all the custom Objects in the Shoegnome Open Template for Archicad.
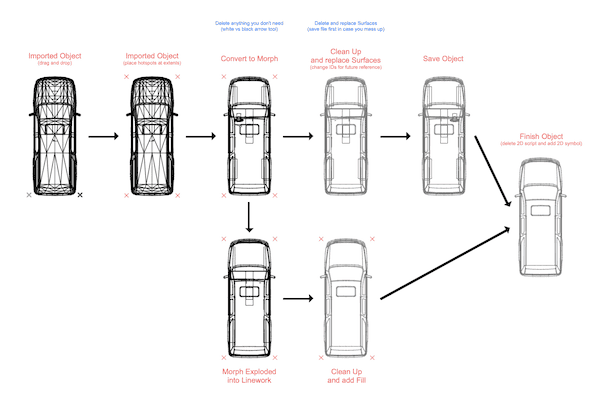
Cleaning up imported Objects in Archicad is fairly easy. Just follow these steps.
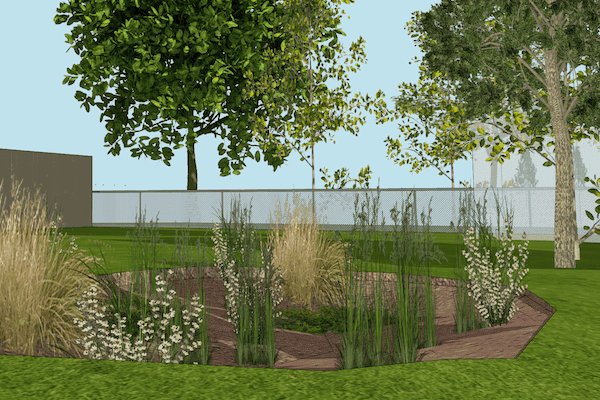
Trees in your Archicad model can really enhance the sense of place, if those tree objects don’t look like garbage.

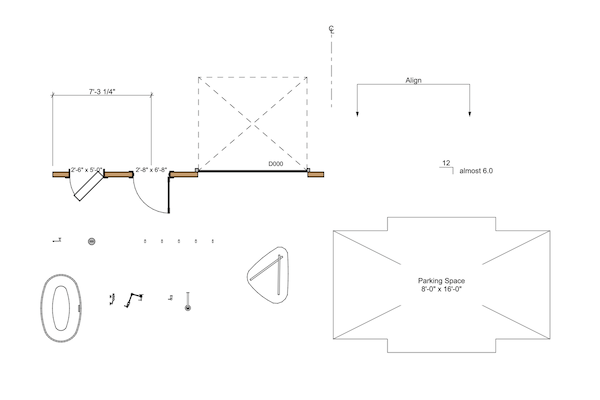
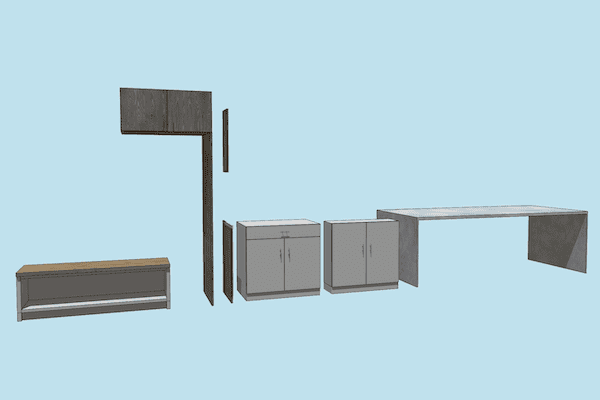
The Shoegnome Open Template v24.2 for Archicad 24 has more Favorites, three new Objects, and a lot of other improvements.
There are a lot of great improvements to the Shoegnome Open Template v24.1 for Archicad 24

I have an update to my template AND beautiful 8 oz tumblers for you.

Kristian Bursell just launched the first ARCHICAD related Kickstarter Campaign. It’s for an amazingly flexible Ceiling Object. Learn how you can help.

Jon Buerg talks about his experiences building BIM Libraries for both Revit and ARCHICAD. To him, it’s the key to any successful project.

When talking about BIM, we often use language that confuses rather than clarifies. Do you know when you are speaking Proprietary or Colloquial BIM?